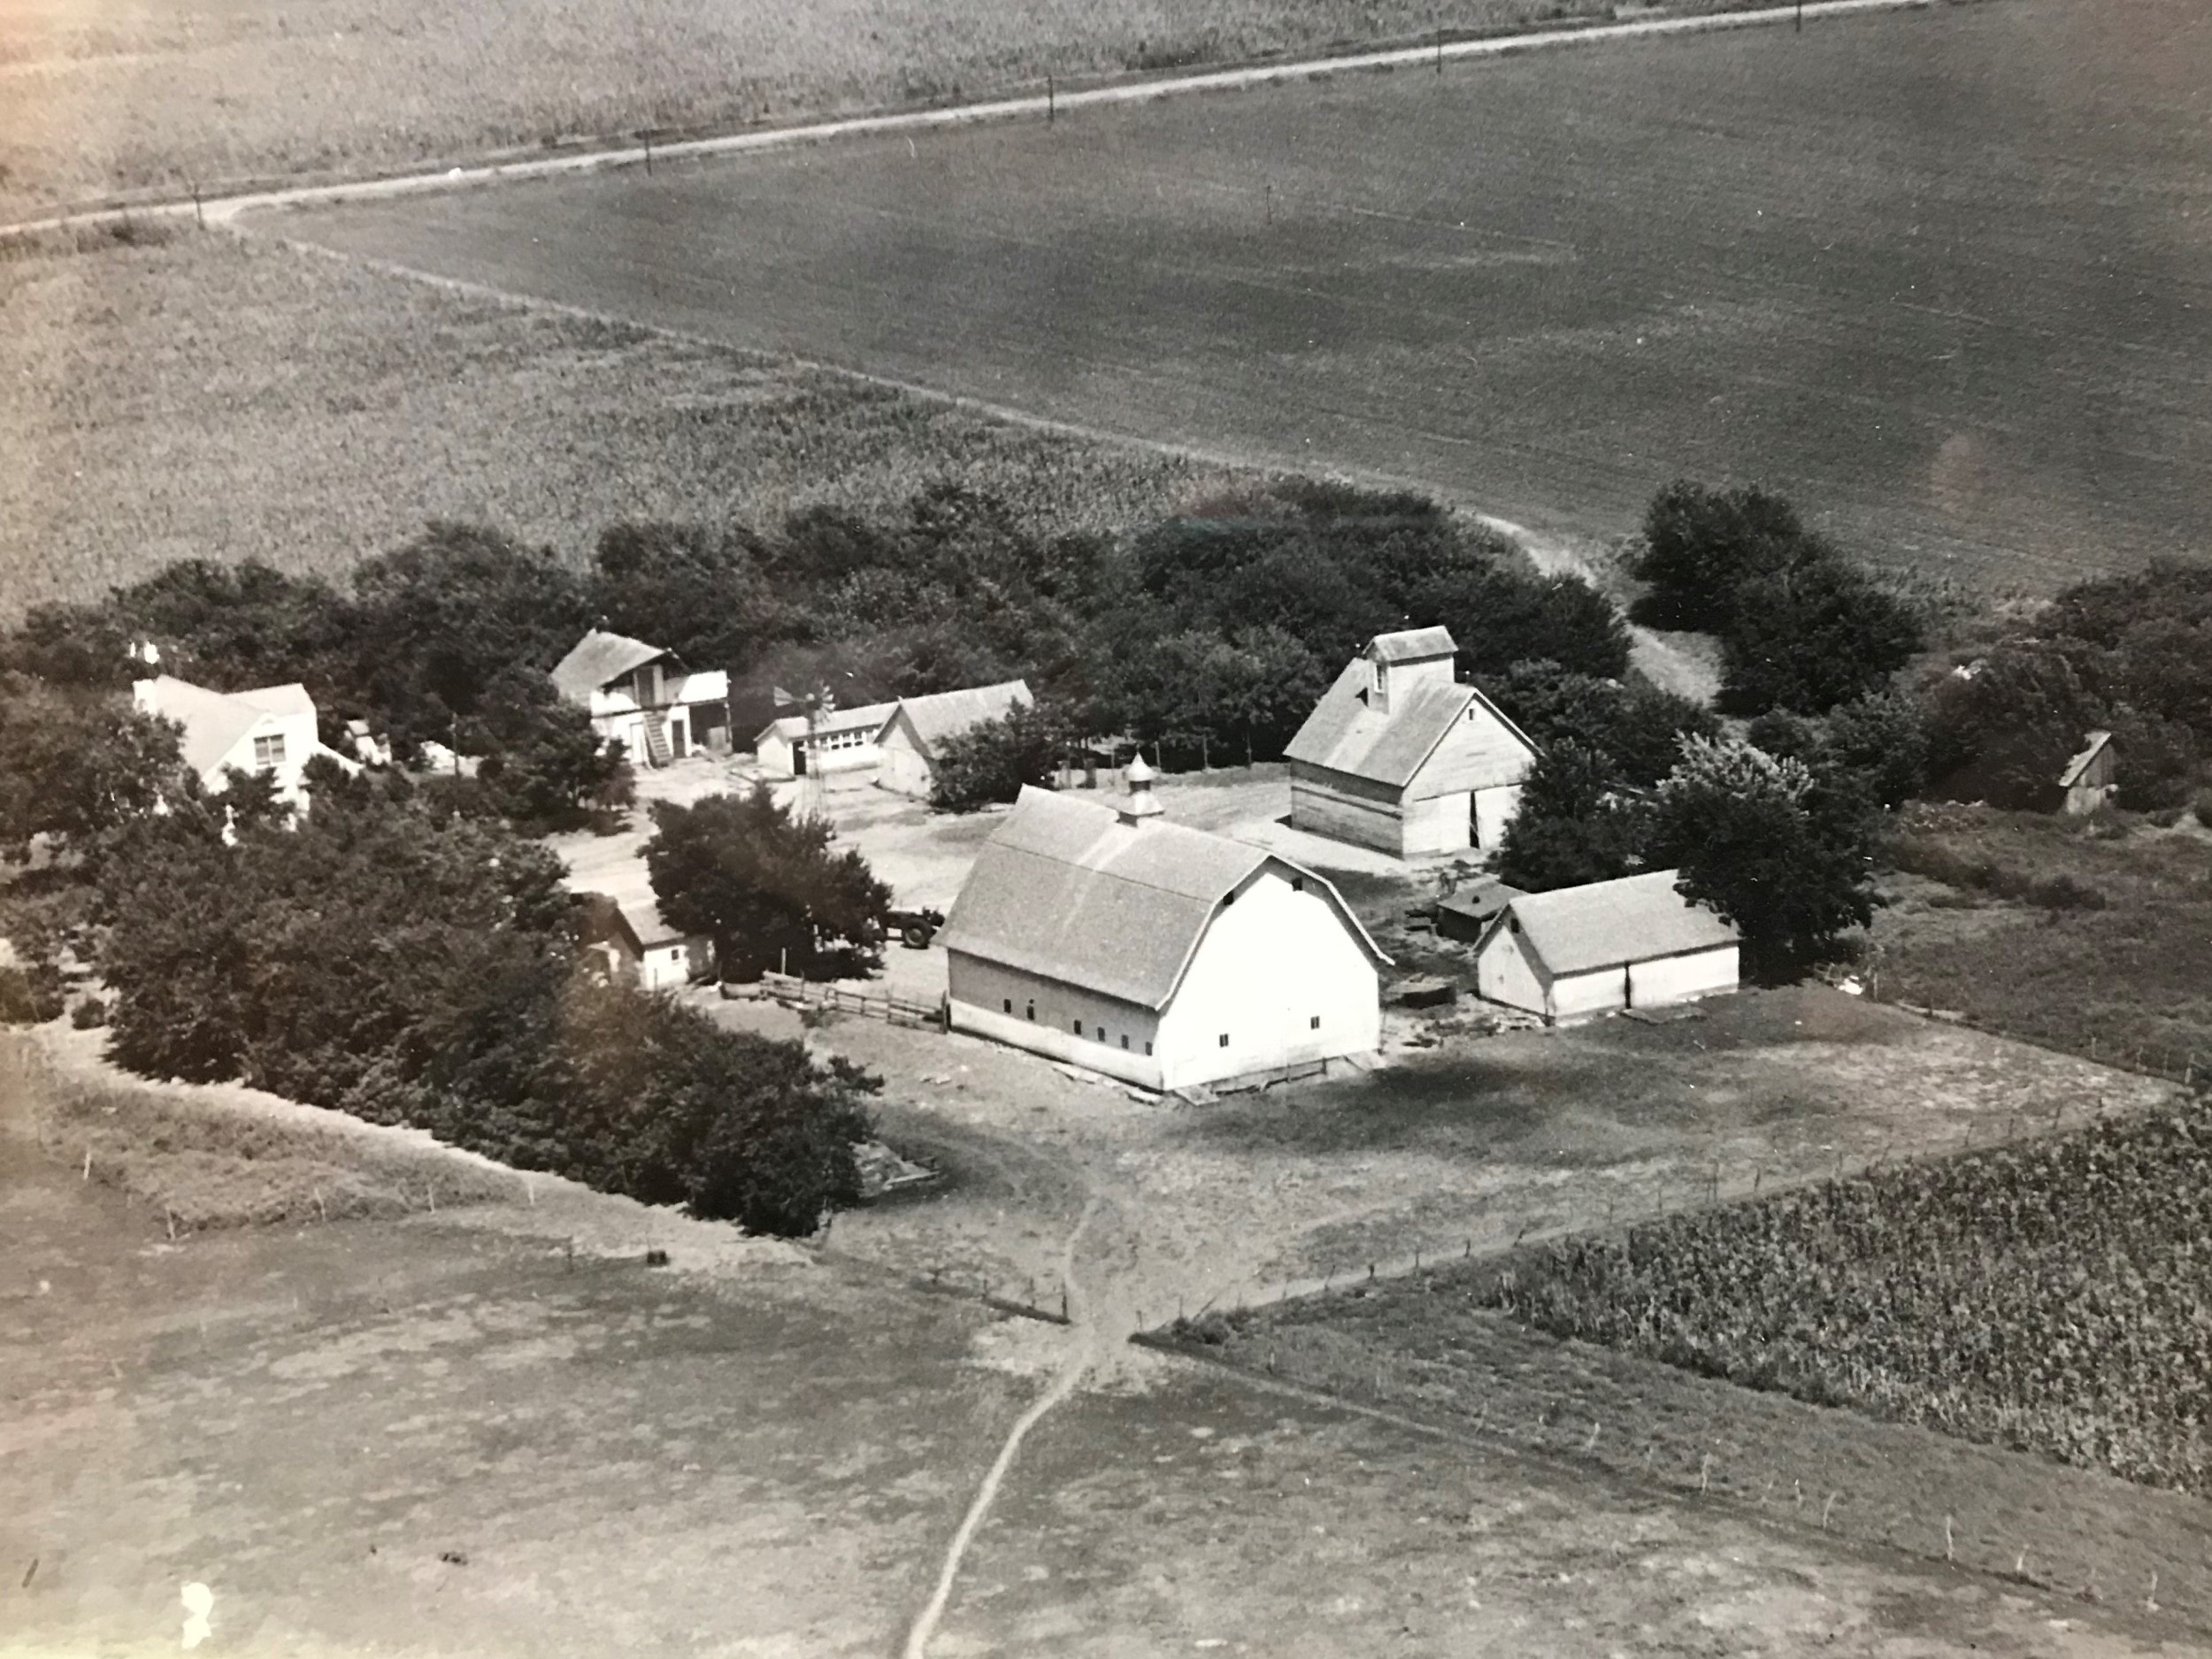
Frank and Bessie Cernik Family Farm
The Cernik and Smith "clans" spent many summers and Holidays at the farm. Creating lifelong memories, experiences and even learned some skills.
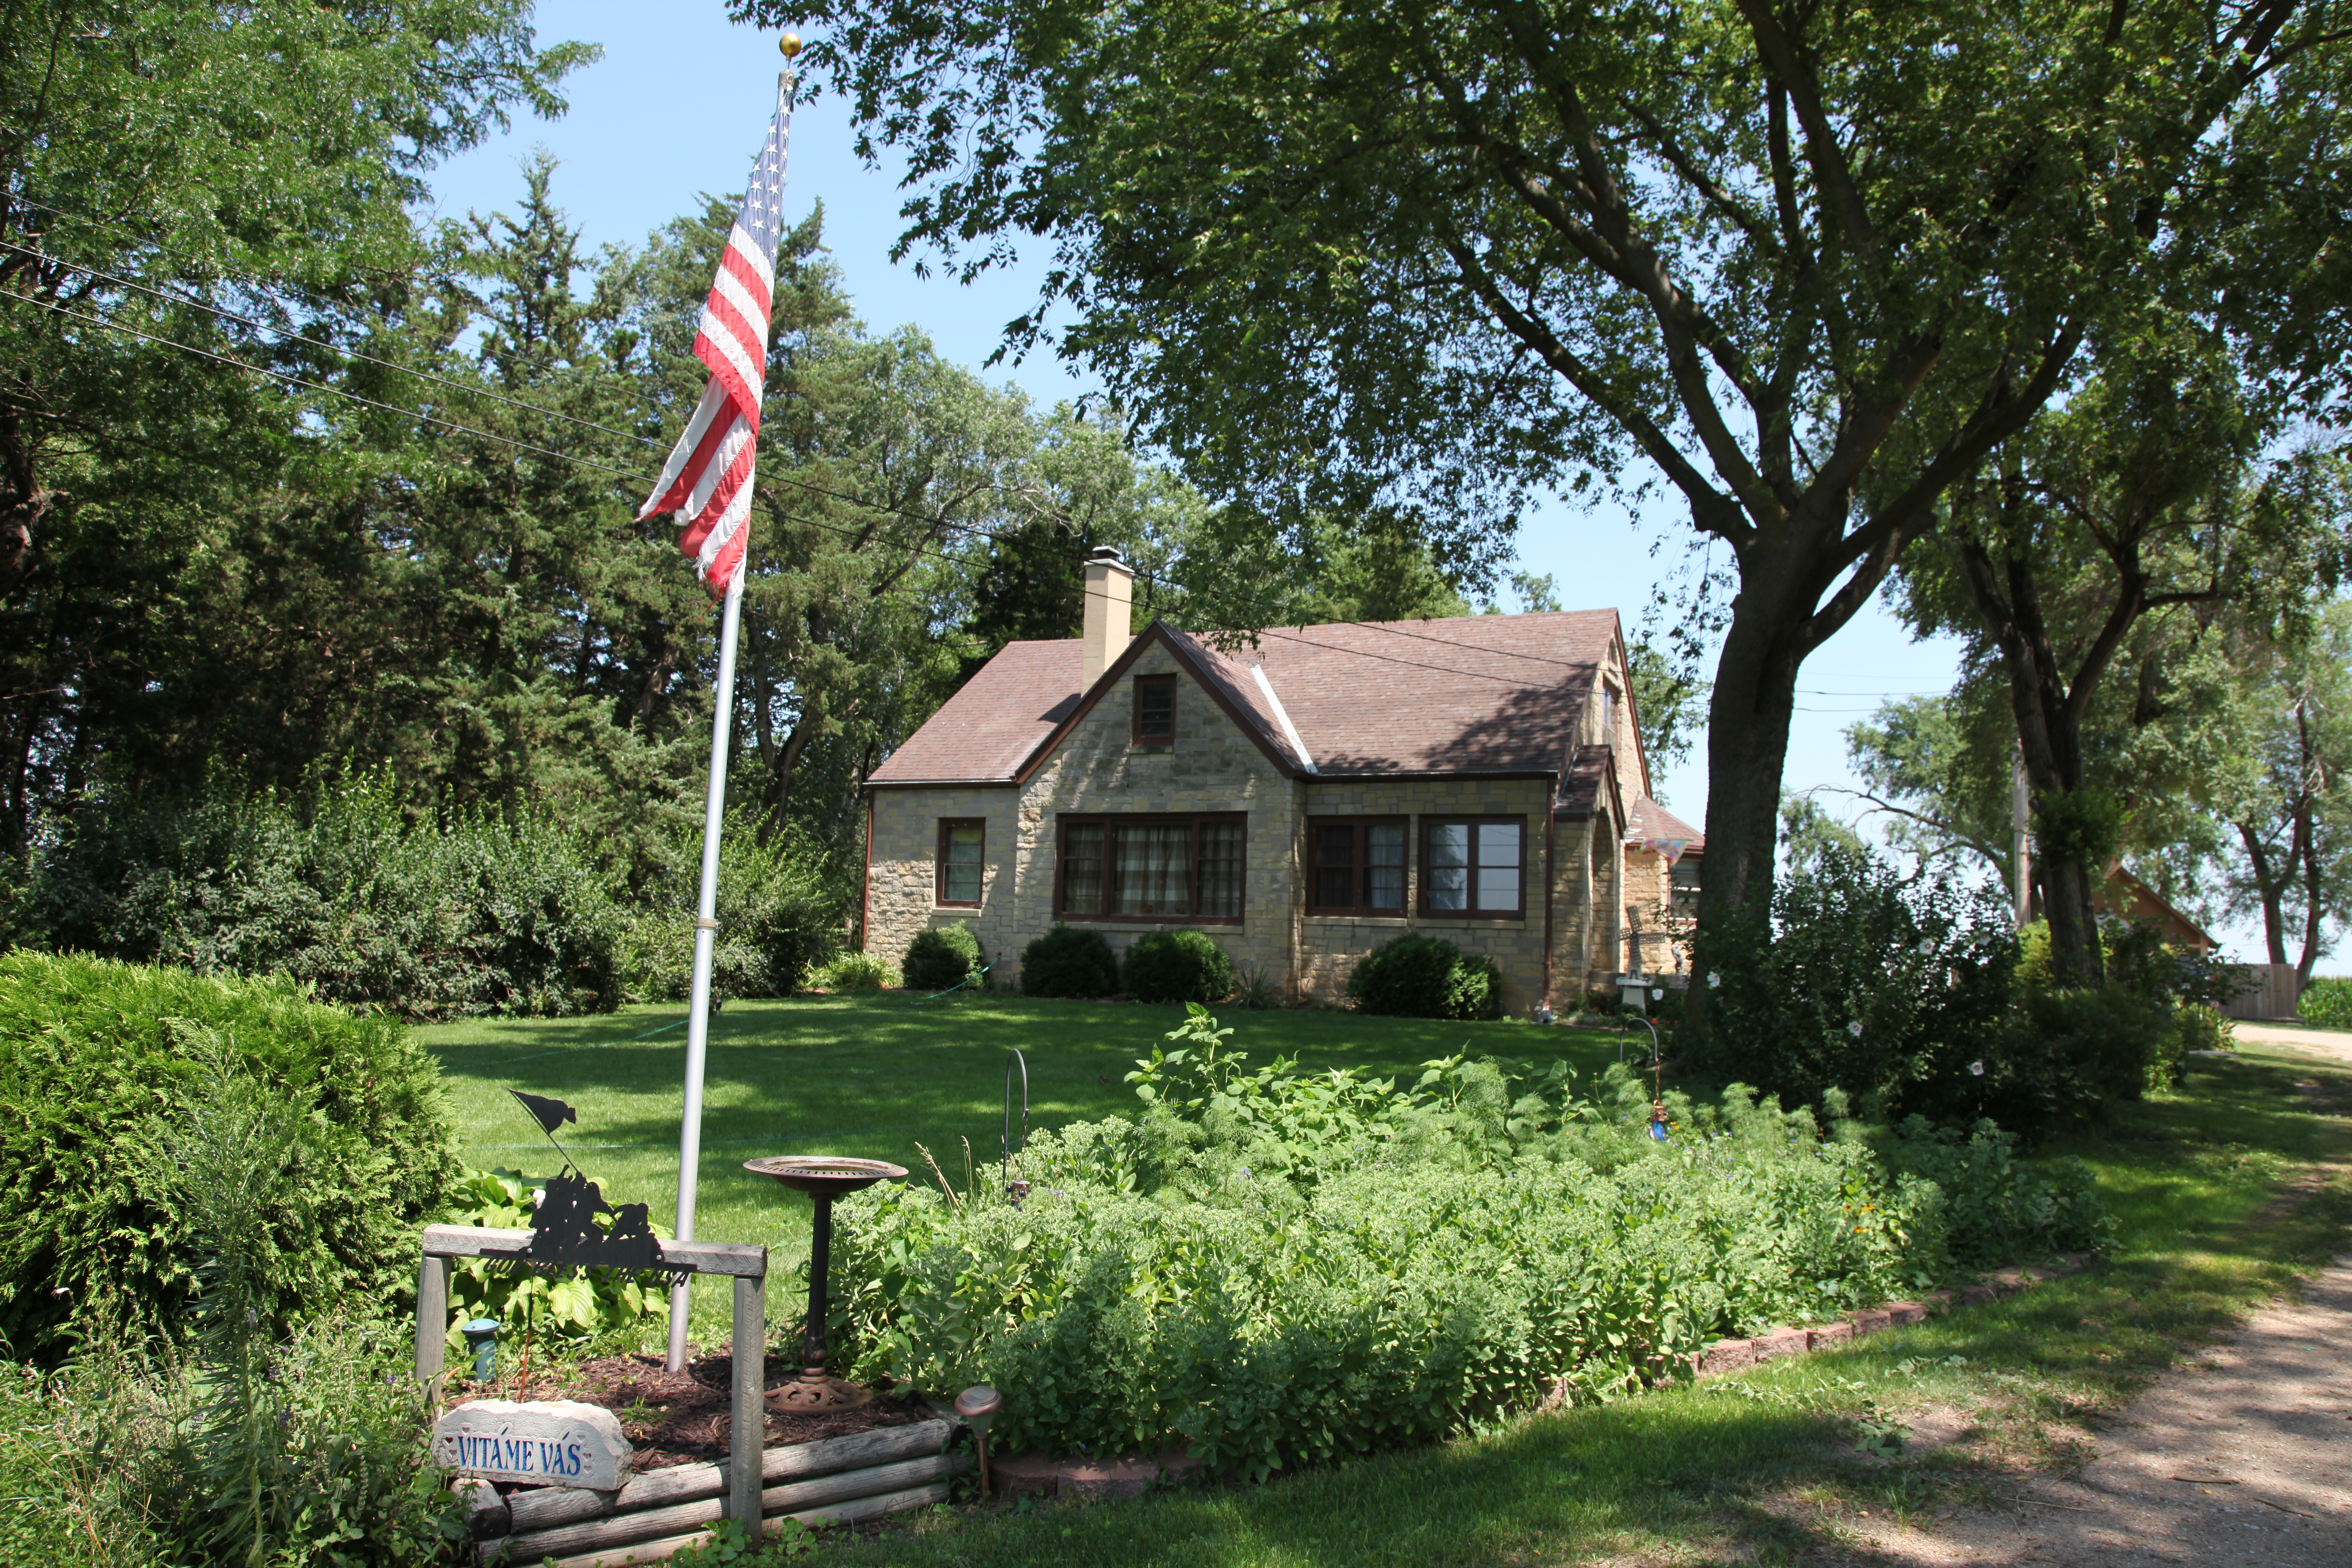
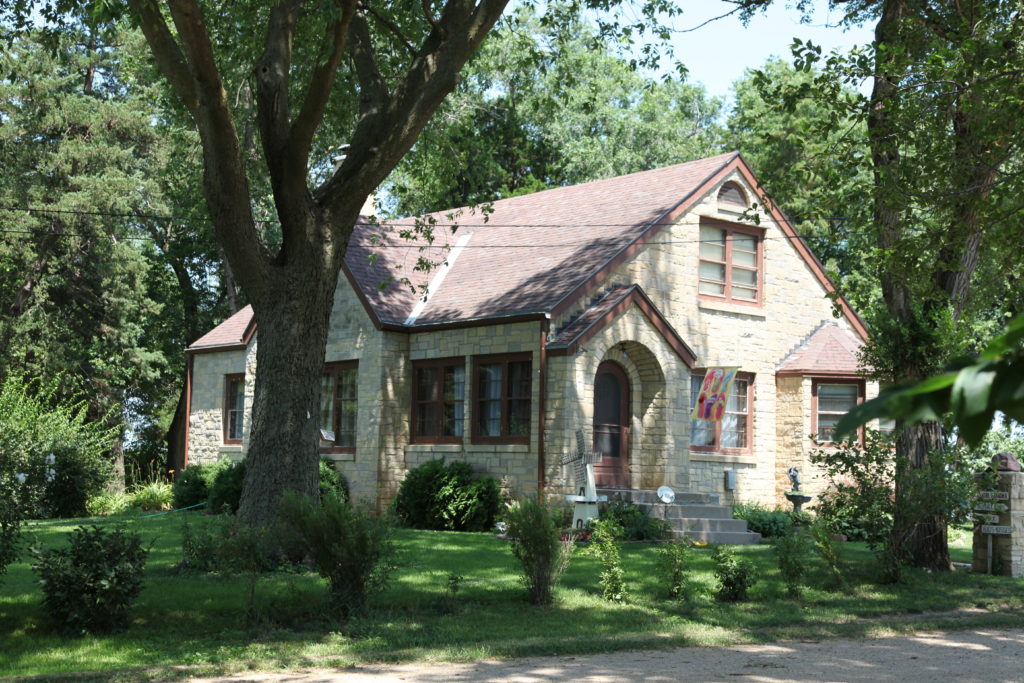
The Farm as it is today.
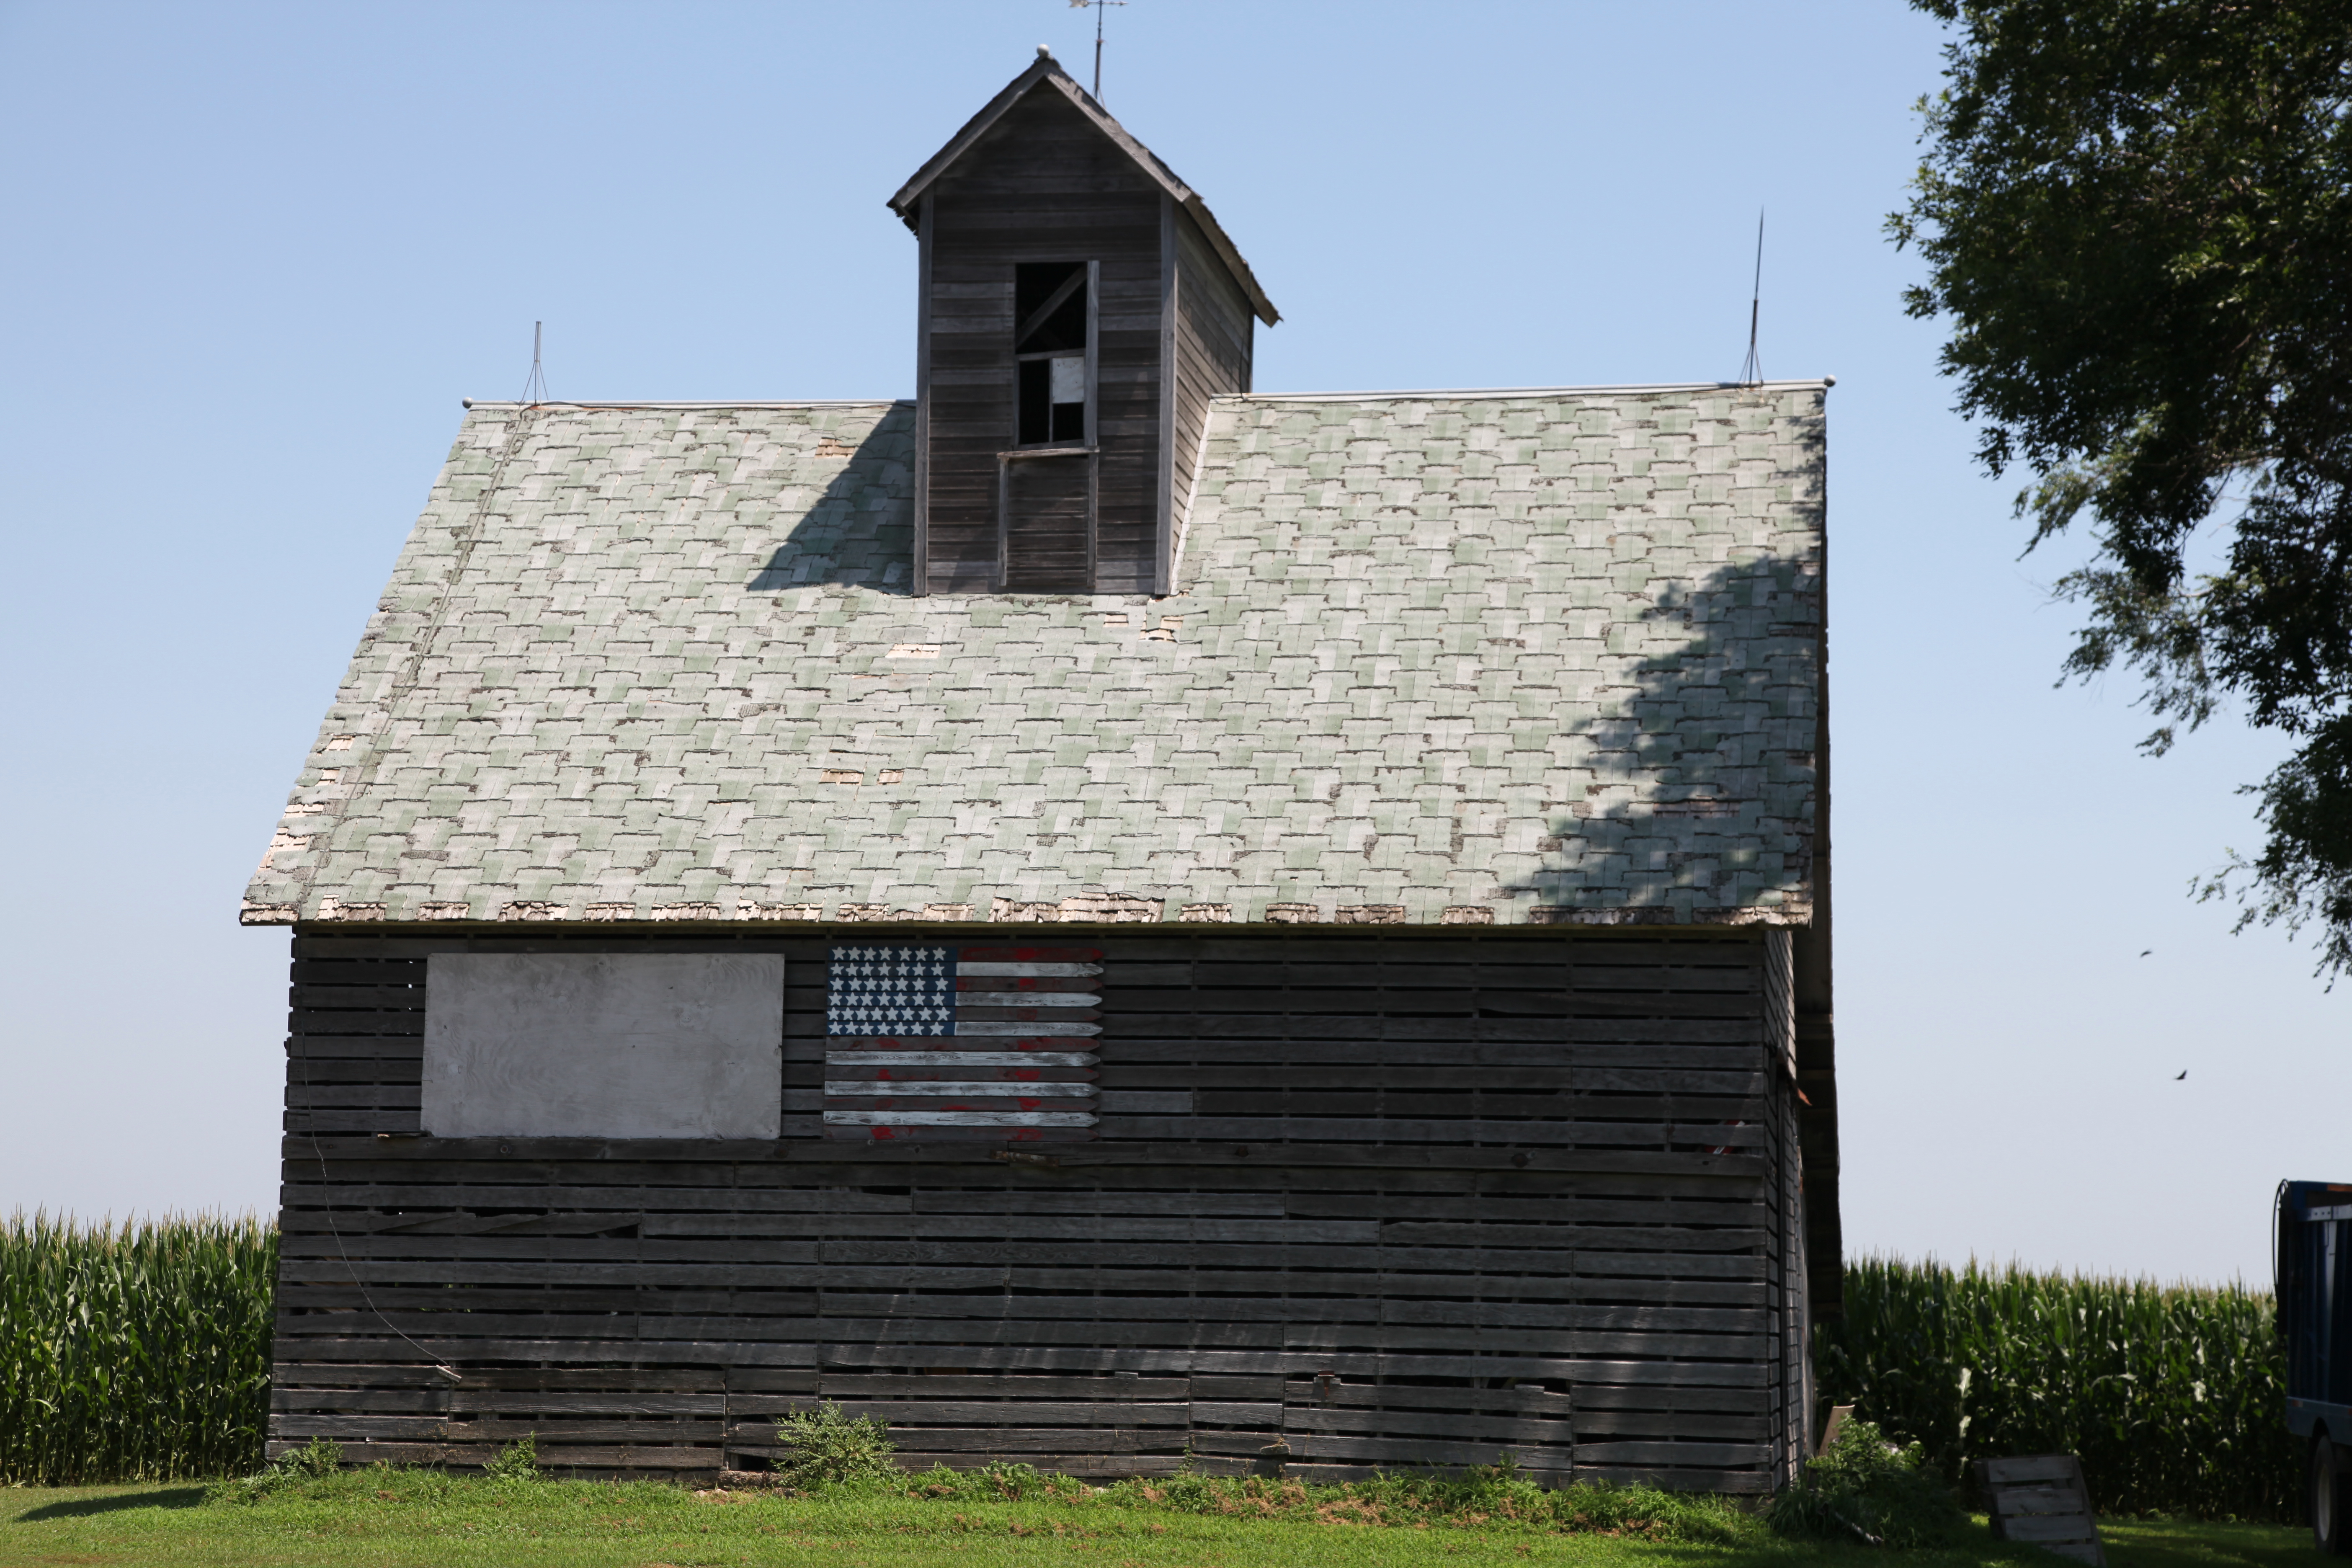
Behind it were other sections for equipment storage. You can see it on the other photos. This is the largest original building left since the barn was sold off.

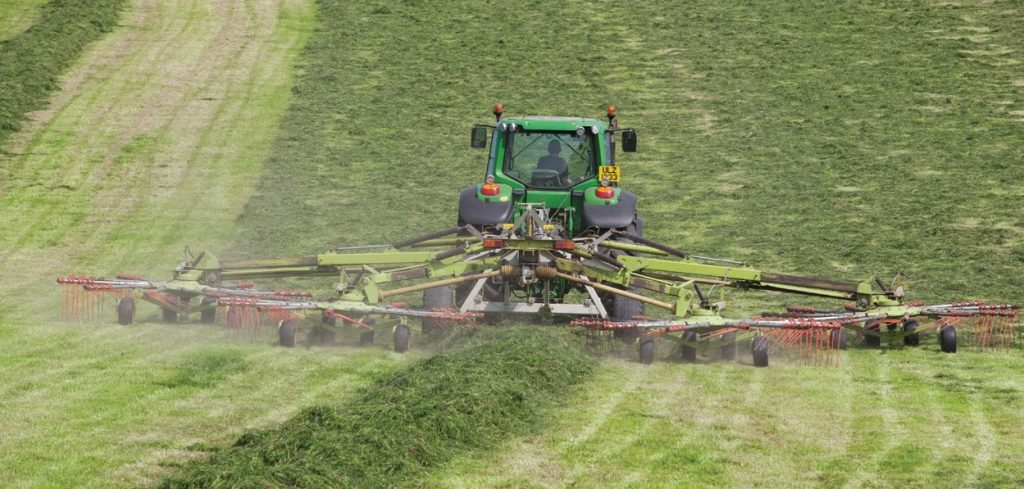
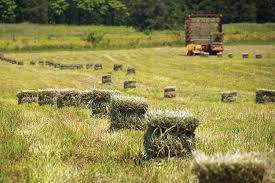
Bailing Hay the "Good old fashion way," one bale at a time.
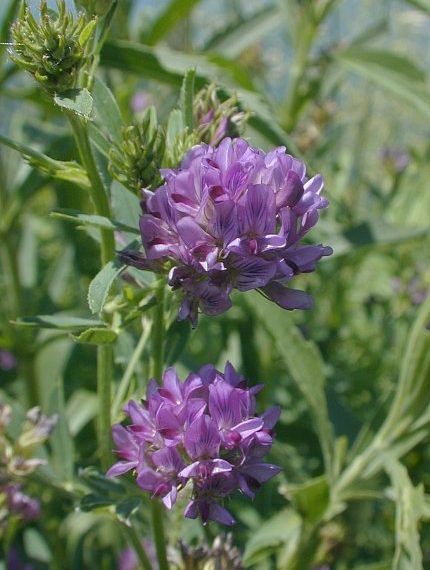
When we had cattle on the farm, you needed to feed the darn things. Hay (alfalfa) was a big source during the winter. Alfalfa is essentially a clover with a purple flower. We would have a pretty good size field of it growing somewhere and it was always a good plant to rotate with the grain crops. And it grew pretty fast that you could harvest it about 3 times a summer.
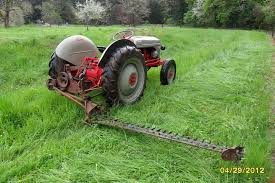
Once the field is ready for harvest, it is mowed. It needs to be harvested and cured prior to flowering (early-bloom stage) as it becomes more difficult for cattle to digest once the plant matures. Grandpa had a side sickle mower attached to the tractor to mow it and let it lay on the ground.
Since it needs to dry so that it doesn’t develop mold and other bad crap, the alfalfa was left out in the sun to dry. You didn’t want to cut it if there was rain in the forecast, if it could be helped. Once dry, the alfalfa needs to be raked into nice and long rows up and down the field. Just another of many attachments you could connect to a tractor.
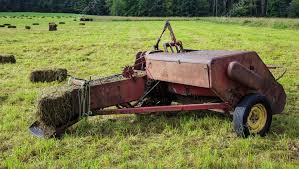
Then, you’d follow that process with the actual baling. The nice little rows of alfalfa/hay were scooped up by the front end of the baler and molded/packed into a nice rectangular bale of hay.
Toward the back end of that contraption was the twine mechanism that would spool off some twine, wrap the bale up nice and tight across the length of the bale and spit it out the back. It would leave behind a field of bales. Each bale weighed 60 to 70 lbs.
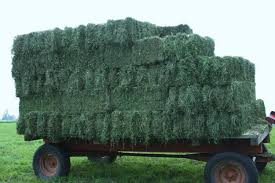
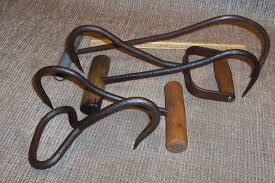
Following behind the baler, there was usually another group with a tractor pulling a wagon, and every person had a baling hook in each hand. They would stab two sides of the bale, pick it up and attempt to throw it up onto the wagon. There was one or more of us on the wagon that would use their hooks to pile each bale onto a nice and hopefully stable stack.
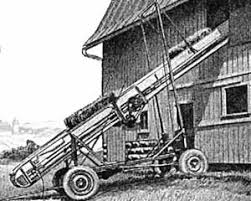
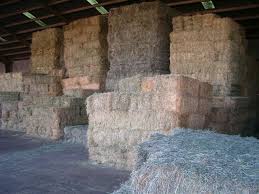
Once the wagon was full, it would be driven over to the barn for the next step, which was getting it up to the second-floor hay loft. To do this, we unloaded the wagon using our trusty baling hooks and threw them onto a bale conveyor that would take them to the top. The conveyor had a moving chain that had spikes in it to grab the bales. Up there, someone would grab each bale and move it to the other side of the loft and stack them up again. This process was repeated over and over again, and the stacks of bales would get to be well over a dozen feet tall. Since the alfalfa had dried for many days, the barn would soon fill up with a huge amount of hay dust and particles. It was a surreal image. There were usually some small holes in the roof of the barn where sunlight would come through. It would look like laser beams as the pins of light hit all of the dust and particles. It was a great way to see where the roof holes were. I can still smell the aroma of the alfalfa/hay. I loved it and never got hay fever or allergies. I guess it helped all of our immune systems.
Though it was physically the hardest task to do on the farm, I would take it over walking soybean or milo fields any day. This ends my “Complete Works of Baling Hay” dissertation.
Story 2 Title

This story has an image that floats to the left instead. The text wraps around the right side of the image.
Continue with your story content. You can mix float-left and float-right images throughout the story to create visual variety.
Remember that on mobile devices, floated images will stack vertically instead of floating, ensuring readability on small screens.
Story Three Title
This panel has no floated images, just regular content with a centered image.

More story content continues after the centered image...
Story Four Title

Start with an image on the right. This paragraph wraps around it.
Another paragraph of content that continues to wrap around the floated image until there's enough text to clear it.

Now add an image on the left. This creates a zigzag pattern of images that keeps the layout interesting.
Continue with more content...
Story Five Title
The final story in this collection...
Add your content here. You can use any combination of:
- Float-right images
- Float-left images
- Centered images
- Two-column image layouts
- Three-column image layouts
Experiment with different layouts to find what works best for each story.
Comments
0 comment(s) on ""